 |
| Below is the video How To. Hope this helps with details. Leave a comment and maybe a photo of your finished bookmark. Enjoy! Blessings on your day!! |
Friday, March 2, 2012
Easy Fold Corner Bookmark Video
Fast, Easy Corner Bookmark Thank you cards.
Good Morning Bloggers - here is another idea I came across while watching you tube videos. - There 's everything on there!!
I liked this idea because by forming a series of easy 1,2,3, folds you will turn a square piece of patterned paper into a corner bookmark. I have made a video and will upload that (via You Tube) after posting these photos.
I did 40 of these for our church ladies group for invitations to their monthly meeting with the added bonus of having the bookmark s a little gift from me.
Leave me a comment, your photos of finished bookmarks or questions. Have fun creating!!
Blessings on your day!
 |
| Here is the finished corner without embellishments. Start by folding a square of paper (6X6) desired Patterned side down. Fold 1) Bottom to top and 2) Right to left. 3) open all folds. 4) fold a diagonal fold (Top, right hand corner) in towards the centre (where all fold score lines meet) 5) Fold over the right side of the patterned paper to the left (you now have a rectangle with the one diagonal fold at the top front). 6) Fold the bottom left hand corner (both piece of rectangle) up toward the outside edge, along the bottom edge of first diagonal fold. 7) Fold the bottom diagonal fold up over the top (#4) diagonal fold and tuck it INTO the top diagonal fold and you should have something like what you see above. |
 |
| I used a digital freebie from Gina K printed on Card Stock via my printer. Using the Cricut cartridge from Close To My Heart, I chose the straight oval at 2" and scalloped oval 2.25", then I adhered those two together and adhered that unto the folded portion of the Bookmark. This will allow the top portion of the oval to extend above your book pages. |
 |
| Using a 3.50" square of cardstock , I stamped my image first then using Martha Stewart corner punch, I punched out 3 sides of the square. I Positioned the bookmark unto the stamped square and Flipped it over. Using the edges of the bookmark as a guide - I adhered adhesive to the side and bottom edge that are exposed. (If you adhere the other sides you will not be able to slide your bookmark off the square). Place the stamped square with the bookmark in place to the front of your card. |
 |
| Here I added a little bling to the centre of my daisy/butterfly stamped image. This is one I did for my CTMH rep. Audrey Cando as a thank you. I added another step by adding little dots to each oval scallop using a opaque white glaze pen . I coloured this little scrapper stamp ScrapFest gave as a Freebie in Oshawa 2010. with Premium Pencils outlining the image first then shaded in the outlined areas using mineral spirits to pull the colour from the outlined edges. |
 | ||
| Here is what the Corner Bookmark looks like when in use! Audrey's info is showing but I am sure she won't mind - if you'd like any Close To My Heart products - she is very helpful and courteous. Click this link to view my Corner Bookmark Video
|

Friday, February 17, 2012
CTMH Scrapbooking layout
Good Morning! I hope the sun is shinning wherever you are today. This is what I have been working on when I can steal some spare time! The captions below the photos gives more detail. Blessings!
 |
| The cards and scrapbook layouts below are all done with the Winterland kit purchased from a Close To My Heart rep. Audrey Cando. |
 |
| The mittens, snowflakes and wording are stamps from the same kit I've cut the dimensions from the card and page maps given in the pamphlet that comes with the kit. |
 |
| The rhinestones in the middle of the snowflakes are also part of the kit. |
 |
| These embellishments can be purchased separately if you wish as well as the stamp set and rhinestones. |
 |
| The two pins can also be purchased separately. |
 |
| There is usually lots of left overs after finishing the page maps for the cards and pages. Here I experimented with another stamp sentiment and played with the butterfly addition. |
 |
| I chose not to use the butterfly and went with the snowflakes and rhinestones. This could be a great "Guys"card. |
 |
| Here is one of the finished 2 page layout included (with measurements for cutting) as part of the Winterland kit. |
 |
| The cups are part of the stamp set. You can layer them for a unique design. The solid cup in a light colour stamped first and the worded cup stamped on top in a darker colour. Close To My Heart stamps are acrylic stamps making them easier for placement the than wood mounted stamps. |
 |
| Mittens are stamped and cut out. I did a grey pair behind and added a brown pair on top using dimensionals. |
 |
| The 3 pins at the top have larger rhinestones in the middle to accent them. They lie behind the brown panel attached with glue dots. |
 |
| The tiny snowflake stamp (also part of the stamp set) have tiny rhinestones as centres to accent them. The scalloped edge grey paper strip is cut using a scalloped edge blade insert for straight edge cutting systems. |
 |
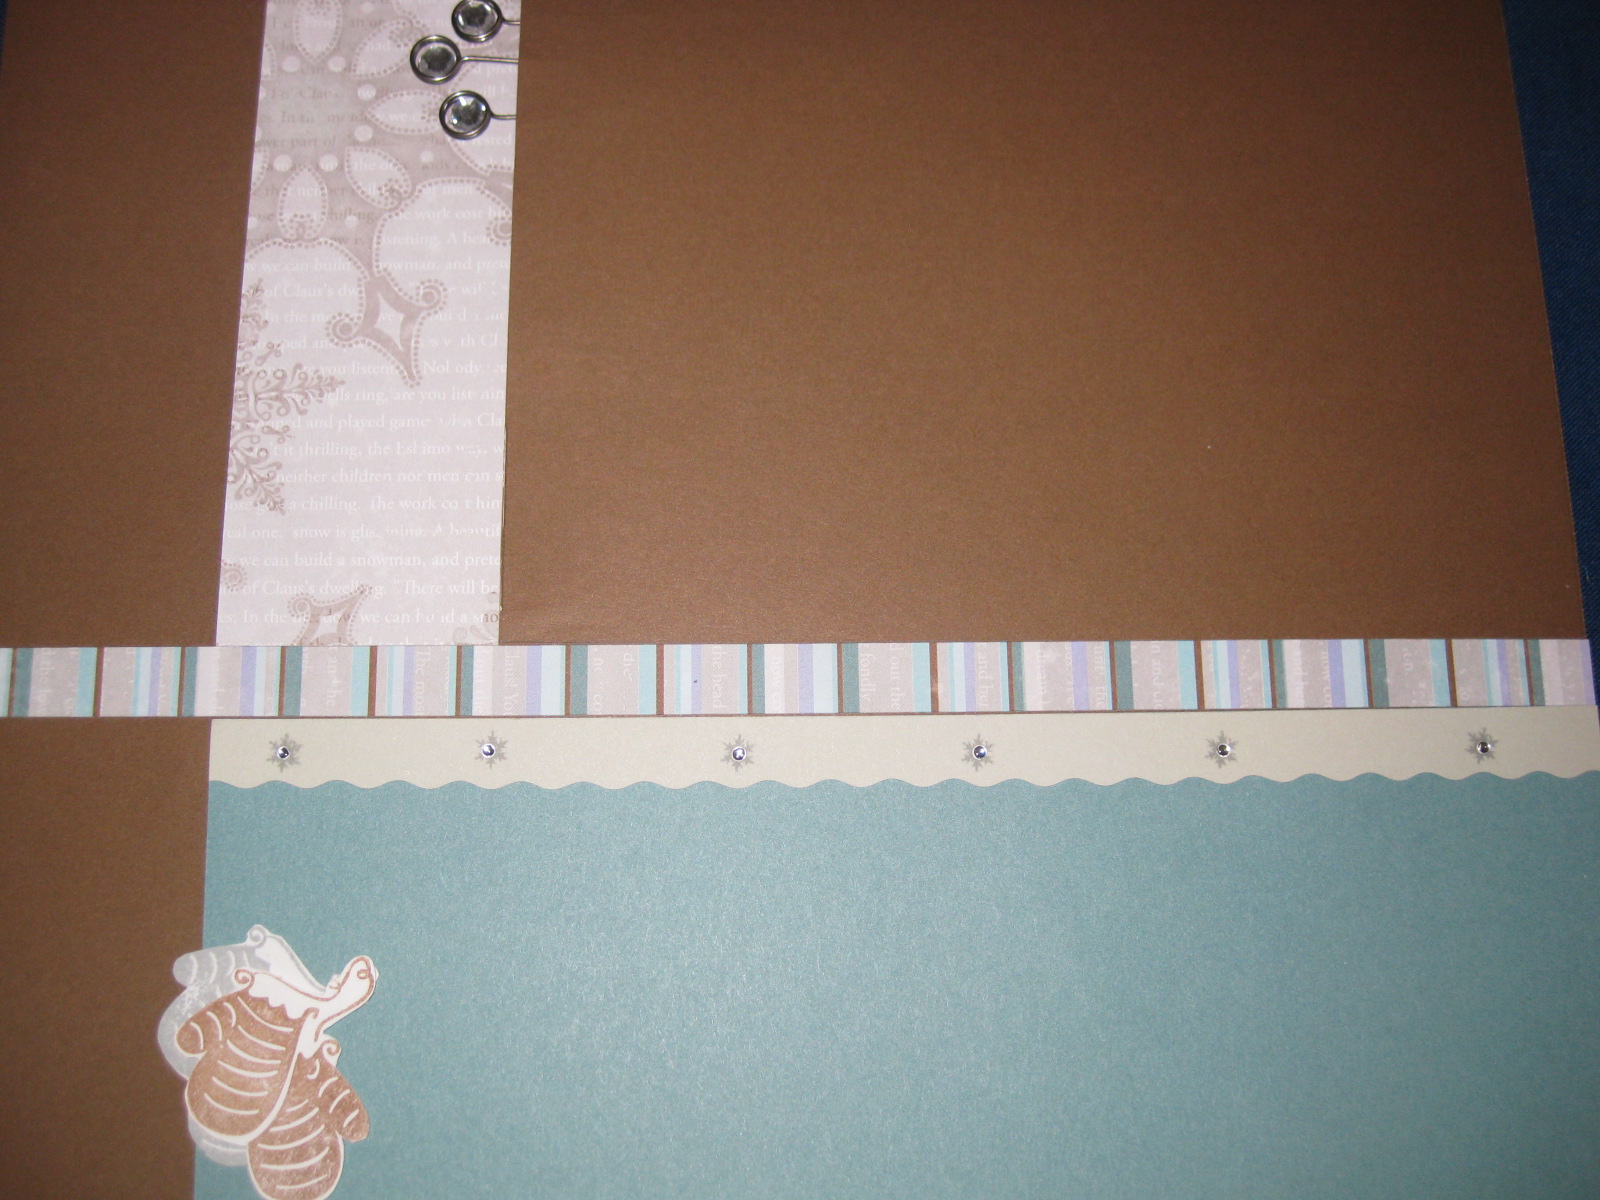
| Here is the second of the finished 2 page layout included (with measurements for cutting) as part of the Winterland kit. |
 |
| You could use the white areas to place 2 photos or place one photo and use the other as a journal box or stamp/sticker something like "Let it Snow". I will make my choice when I choose my photo. |
 |
| I stamped the snow flakes (2 sizes/patterns) and added rhinestones. I love 'sparkle' |
 |
| Top right hand corner brown pattern paper embellishment was made with accordion folds using a ScorPal (scored every 1/2" before folding). I cut one half of the V first the folded it over as a guide to complete the cut edge to form a ribbon cut effect. The ends of the pins are not sharp enough to go thru the paper so I used a paper piercing tool to make the holes before inserting the pins. |
 |
| The bottom left hand side of the page has a grey 1/2" strip layer by the smaller blue strip of patterned paper using adhesive on the back of each strip. The pins are tucked in and rhinestones added to their centers. |
Leave a comment and/or send me the photos of your finished pages or cards using your choice of patterned paper. If you need the measurements for pre-cutting your pages before assembling them - email me (d.stevenson@rogers.com) and I will send them to you. Blessings on your day!!
Friday, February 10, 2012
Creativedscrafter Butterfly glitter sticker video
Here is the link to my You Tube video for the Butterfly glitter sticker ... it took forever to upload so I pray it works...
http://www.youtube.com/watch?v=FVPvavugHLI&list=FLEDI4gXQJZAbTyrepRSwTJg&index=1&feature=plpp_video
http://www.youtube.com/watch?v=FVPvavugHLI&list=FLEDI4gXQJZAbTyrepRSwTJg&index=1&feature=plpp_video
Butter Sticker post photos and instructions
Good Morning fellow crafters!! Here are the photos and above is the video of a pretty little butterfly sticker package that I picked up at Walmart for $1.88. I coloured in the Butterfly using alcoholic based markers (Bic). You can use Sharpies or Copics if you have them. Let me know what you think of this my first video!! Yeah... Blessings.....
 |
| This is the front of the butterfly sticker |
 |
| Here is the back of the sticker either way back or front both are beautiful. The You Tube video ilk is at the top of my blog... Enjoy! |
Friday, February 3, 2012
Splitcoaststampers youtube video link
Today I found this You Tube link done for Splitcoaststampers showing a wonderful technique using Spellbinders nestabilities - you gotta see this if you haven't already... Enjoy (Just click on the link) 13Now playingFrosted Nestabilities by LindasWorksofHeart Beautiful finished card by Linda using this technique.


By the way check out this lady's other tutorials, she is very talented. Blessings!!
Wednesday, February 1, 2012
CHA 2012 demos of new products
Okay Girls, the You Tube videos are now showing the 2012 CHA convention - check out the new designs...here is one of the demo videos to get you started.....Enjoy CHA 2012 Demo
Subscribe to:
Posts (Atom)
Thank you for dropping by.
I trust you enjoyed viewing what I have been up to lately....Have a Blessed day!