Good Morning! I hope the sun is shinning wherever you are today. This is what I have been working on when I can steal some spare time! The captions below the photos gives more detail. Blessings!
 |
| The cards and scrapbook layouts below are all done with the Winterland kit purchased from a Close To My Heart rep. Audrey Cando. |
 |
| The mittens, snowflakes and wording are stamps from the same kit I've cut the dimensions from the card and page maps given in the pamphlet that comes with the kit. |
 |
| The rhinestones in the middle of the snowflakes are also part of the kit. |
 |
| These embellishments can be purchased separately if you wish as well as the stamp set and rhinestones. |
 |
| The two pins can also be purchased separately. |
 |
| There is usually lots of left overs after finishing the page maps for the cards and pages. Here I experimented with another stamp sentiment and played with the butterfly addition. |
 |
| I chose not to use the butterfly and went with the snowflakes and rhinestones. This could be a great "Guys"card. |
 |
| Here is one of the finished 2 page layout included (with measurements for cutting) as part of the Winterland kit. |
 |
| The cups are part of the stamp set. You can layer them for a unique design. The solid cup in a light colour stamped first and the worded cup stamped on top in a darker colour. Close To My Heart stamps are acrylic stamps making them easier for placement the than wood mounted stamps. |
 |
| Mittens are stamped and cut out. I did a grey pair behind and added a brown pair on top using dimensionals. |
 |
| The 3 pins at the top have larger rhinestones in the middle to accent them. They lie behind the brown panel attached with glue dots. |
 |
| The tiny snowflake stamp (also part of the stamp set) have tiny rhinestones as centres to accent them. The scalloped edge grey paper strip is cut using a scalloped edge blade insert for straight edge cutting systems. |
 |
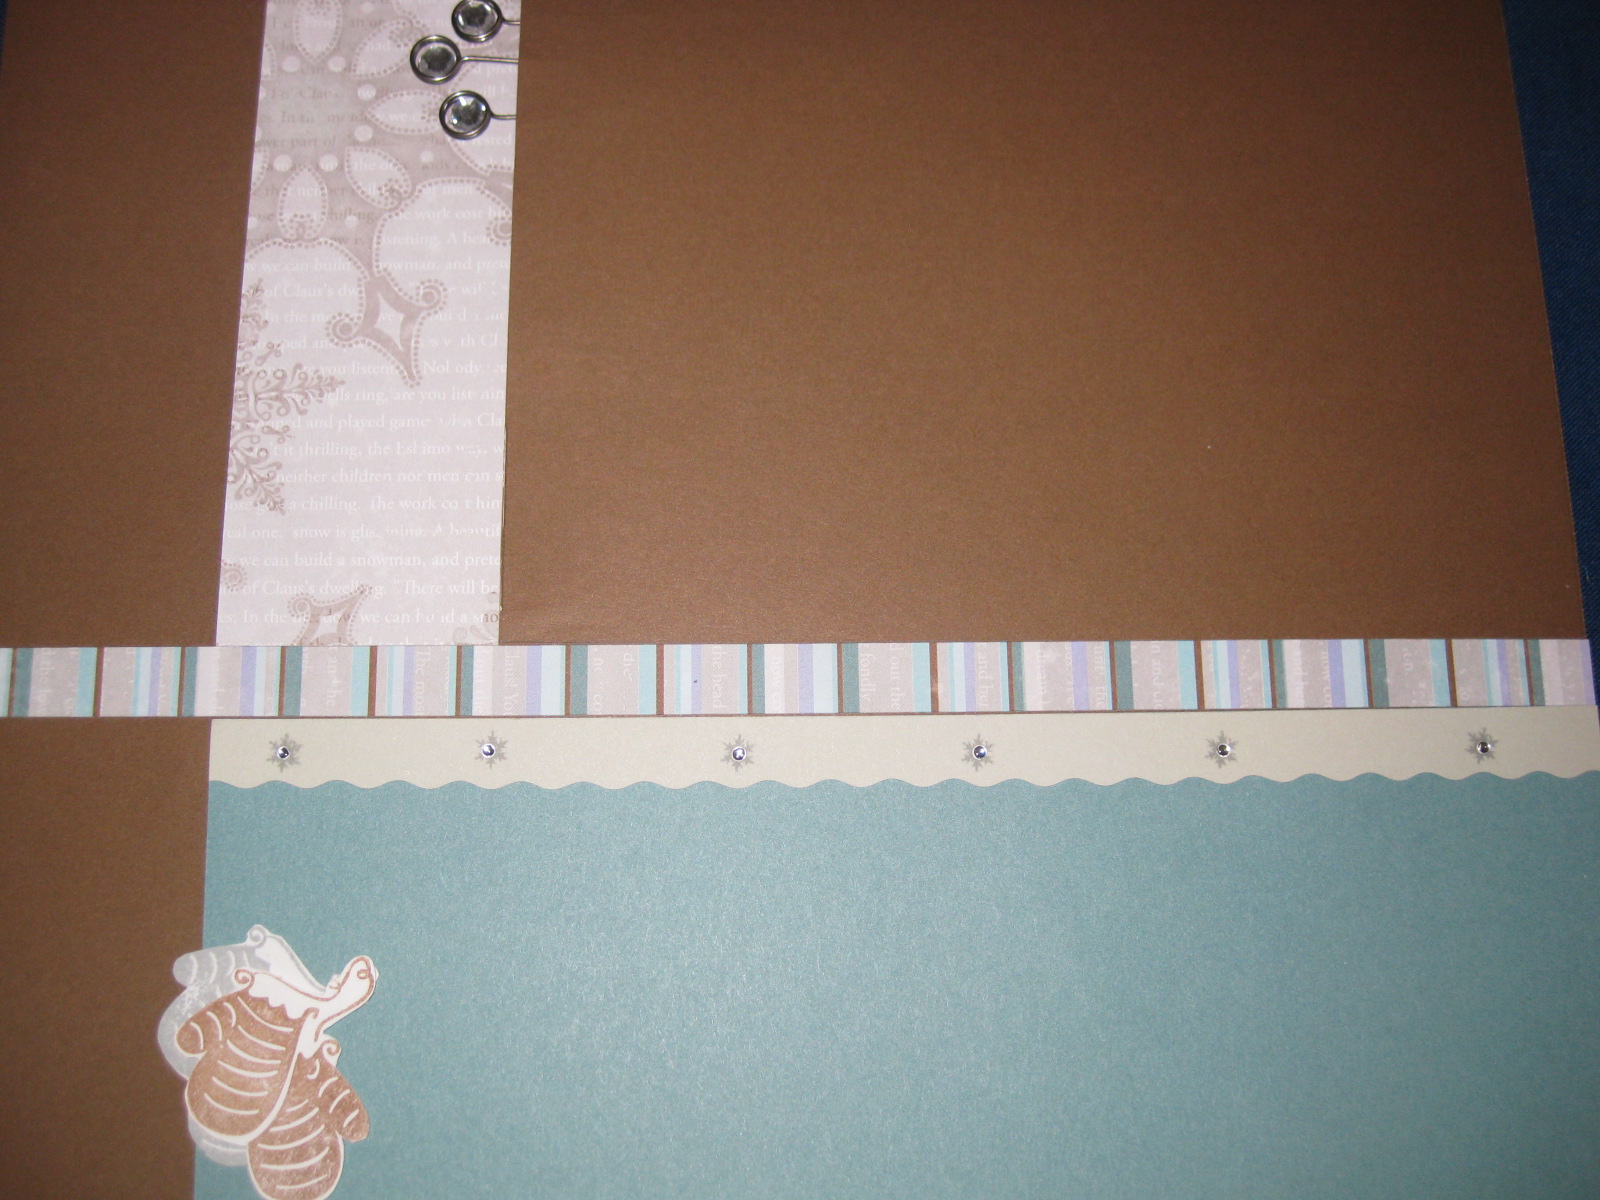
| Here is the second of the finished 2 page layout included (with measurements for cutting) as part of the Winterland kit. |
 |
| You could use the white areas to place 2 photos or place one photo and use the other as a journal box or stamp/sticker something like "Let it Snow". I will make my choice when I choose my photo. |
 |
| I stamped the snow flakes (2 sizes/patterns) and added rhinestones. I love 'sparkle' |
 |
| Top right hand corner brown pattern paper embellishment was made with accordion folds using a ScorPal (scored every 1/2" before folding). I cut one half of the V first the folded it over as a guide to complete the cut edge to form a ribbon cut effect. The ends of the pins are not sharp enough to go thru the paper so I used a paper piercing tool to make the holes before inserting the pins. |
 |
| The bottom left hand side of the page has a grey 1/2" strip layer by the smaller blue strip of patterned paper using adhesive on the back of each strip. The pins are tucked in and rhinestones added to their centers. |
Leave a comment and/or send me the photos of your finished pages or cards using your choice of patterned paper. If you need the measurements for pre-cutting your pages before assembling them - email me (d.stevenson@rogers.com) and I will send them to you. Blessings on your day!!