Tuesday, February 22, 2011

Designs 2010 - 2011

Other card designs:
Enjoy the designs .. if you have any questions just ask...Blessings!


Red Card Stock heart and White tag are cuts from Cricut Cartridges, stamp from JoAnn Fabrics.  Accented with red and  Black ribbon.  Polka Dot patterned paper and brad from Michaels.  Heart Mouse stamp from Stampin'Up.
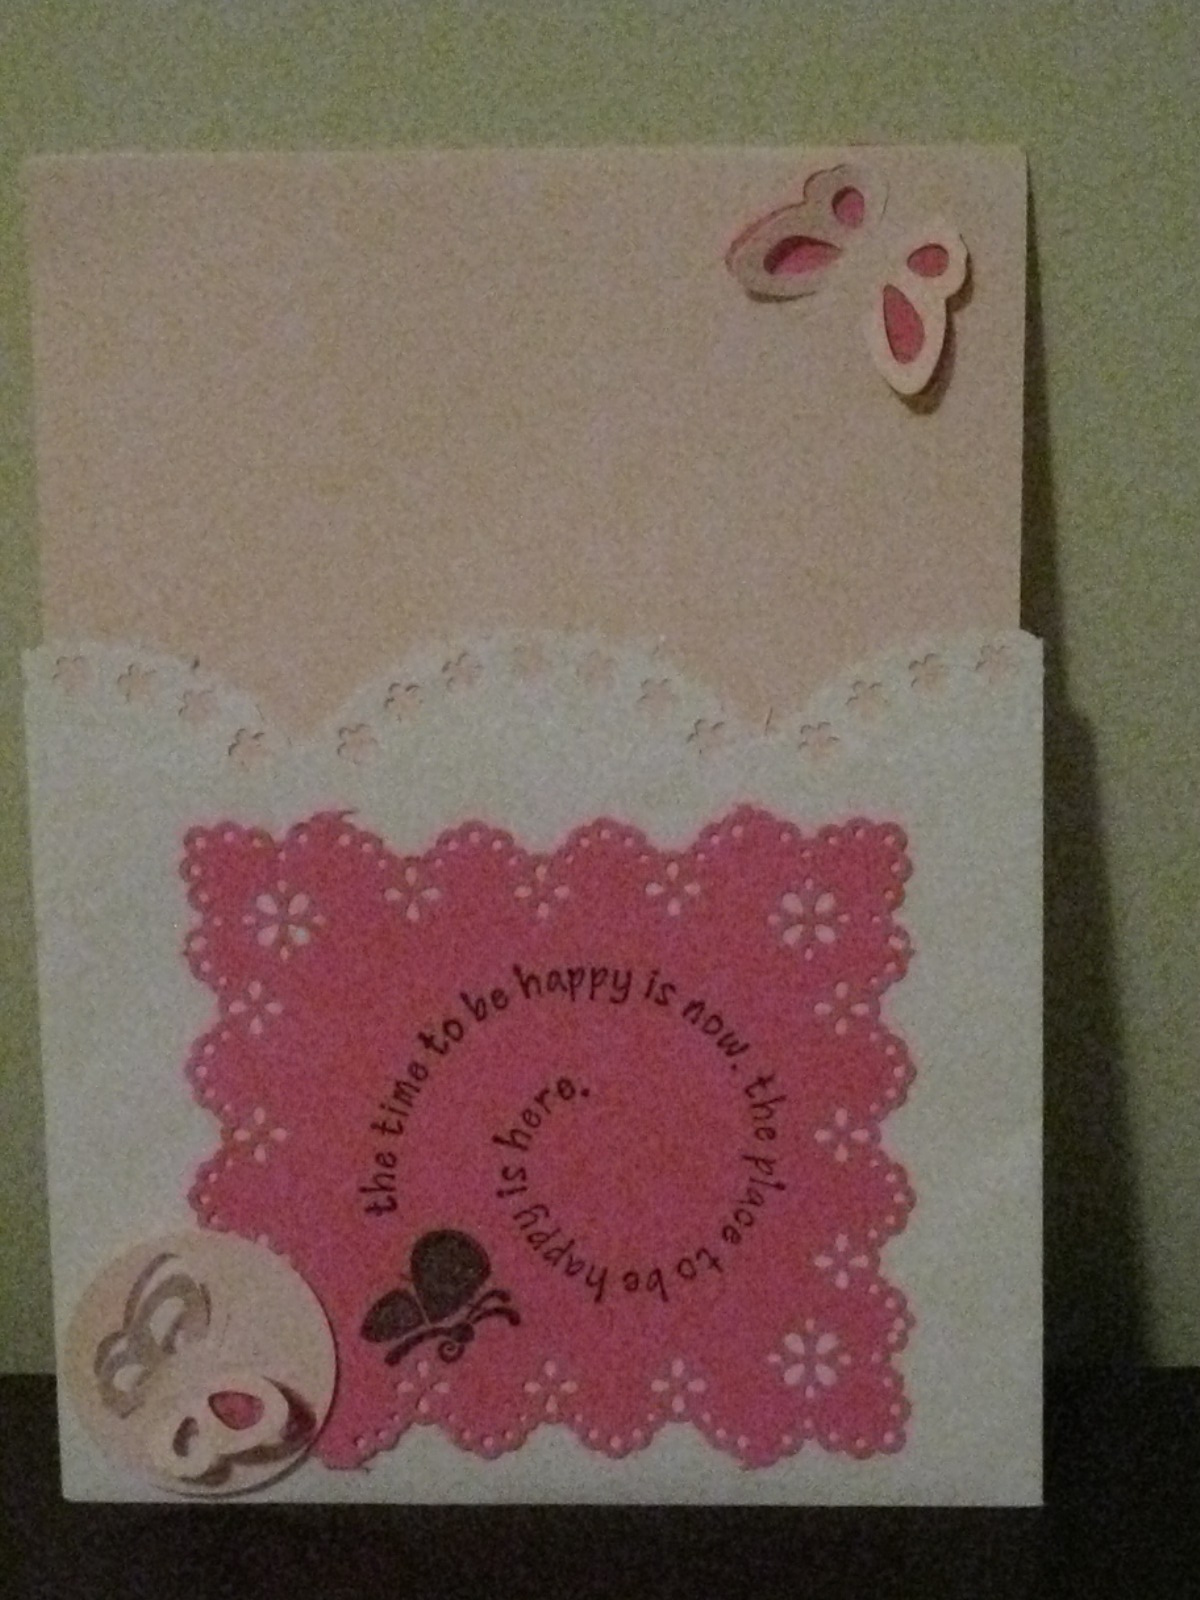
Punches - Butter fly, Scallop edges, etc.  from Marthra Stewart.  stamp from Ditto (Michaels).  This Pink insert sits in a business size envelope cut in half.
Stamp used here is from Stampin'Up, the floral accent is from Dollarama, 'Round the page punch by Martha Stewart accented by pink bow.  Invitation to our ladies group sits inside the business size envelope cut in half and trimmed with Martha Stewart edge punch. 


This is a stair case fold card - I found on You Tube and had to use my decor juices to create...  I used Marthra Steward punches as well as Stampin'Up to create this baby!!  The rub on wording came from Creative Memories!!
The Butterfly is stamped on Vellum using silver ink pad and then coloured on the reverse side  using  vellum markers. The flourish behind the Butterfly is stamped using Silver ink pad.
White Card Stock has a Martha Stewart  scalloped formal edge.  The Pink Card stock overlay is cut from Spellbinders die cuts first and attached with adhesive, it is punched with MS punch and Satin Cream ribbon has been added to accent.


Stamps and scalloped round punch by Stampin'Up, scalloped card edge is by Fiskars.  Patterned  paper was  from Christmas DMS pad from Michaels accented with red 1/4" ribbon bow.

Thursday, February 10, 2011

Embossed Butterfly


Measurments:
Mauve 8 1/2" X 11"  cut to measure 4 1/4" X 11"  (scored and folded at 2 3/4" and 8 1/4")
Cream 3 1/4" X 3 1/4"Deep Purple  2 1/2" X 2 1/2"

Supplies:
Cardstock 
Martha Steward's Around the Corner Scalloped Punch set         
Versa Embossing stamp pad
Marthra Steward Butterfly stamp set
Black Embossing Powder and Marvy Embossing Heat Tool
Bleach 
Small round brush 
Finishing accents - Rhinestones
Ranger Crystal Stickles (Glitter Glue)
Instructions:
1.Fold both ends of scored Mauve Cardstock toward center of 4 1/4 X 11 strip to form a tri-fold
2.Punch the corners of cream cardstock using the scalloped corner punch complete the scalloped frame using the border scalloped punch.
3.Stamp several butterflies onto deep Purple cardstock, emboss with black embossing powder and heat set with tool. Using a fine round brush dipped in bleach, paint bleach inside the embossed butterflies.  (As the bleach dries the cardstock will fade to near colorless.)  Embellish butterflies with rhinestones or stickles
4. Adhere deep purple embossed design to the cream scalloped frame using double sided tape. Adhere this to the left folded side of the Mauve cardstock.
5.  You can stamp a greeting, add a bow or leave the right folded side plain. (Use your creativity)
Stamp or write a greeting inside the card.  I usually insert a greeting printed or written on white computer paper and adhered to cardstock with double sided tape.

Blessings!!

Wednesday, February 9, 2011

Mother's Day Card


Measurements:
White card base- 4 1/4" X 11", scored at 5 1/2" and folded in half
(score a line at 3 1/2 inches and 4 1/2) inches
Purple - 2 1/2" X 3 1/4"
White pane- 2 1/2" X 3 1/4"
Purple patterned ribbon - 12"            


Supplies:
Cuttlebug Swiss Dot embossing folder
Stamp Set-Studio g  and #50769 More Borders  by Stephanie Barnard
Card Stock- Violet and White
Ink- Memories Violet
Spellbinders Nestabilities Classic Ovals small, Classic Scalloped Ovals small , adhesive,Pink self adhesive Pearls small and Medium


Instructions:  
1. Card:   Using a Score Pal and scoring bone (or ink free pen and ruler) score card front from the top of the card at 3 1/2 and 4 1/2.
2. Using a Cuttlebug die cut/embossing machine and the Swiss Dot embossing folder -emboss the top of the card leaving a 1 inch (non-embossed space for butterfly border stamp).  From the bottom of the card (front) emboss the bottom end of the card with the Swiss Dot folder.   www.stamptv.com  Gives a video example of this embossing technique.
3. Oval Frame:   Using small scalloped oval  nestabilities die cut  purple scalloped background. Do the same for the non-scalloped oval.
4. Using the Violet ink pad and appropriate stamps - Stamp the butterfly border on the Card Front and the Mother's Day greeting on the non-scalloped oval.  Adhere the ovals together using double sided tape,  adhere completed ovals to the card front using double sided foam pop dots.
5. Bow:  after forming a bow, adhere bow above the oval frame with Beacon's glue

Comment:  I use my computer and printer to type a greeting on colored or white paper, cut the size of the paper (insert) to fit  inside the card  adhering it to the card  with double sided tape.
The ink in your printer is acid free and can also be used for scrapbook journals.
Please send any photos of your finished card with your creative design and greeting.

Blessings!!

Thank you for dropping by.

Thank you for dropping by.
I trust you enjoyed viewing what I have been up to lately....Have a Blessed day!