Recently I was asked to do a School sign which would adhere to the inside of their front windows.
I searched to find any tutorial for Reversing Letters for Vinyl adhesive but was unsuccessful in finding anything listed on You Tube or the Cricut web site. After speaking with a Cricut rep on How To proceed with using my Cricut expressions machine and their Vinyl adhesive and receiving a negative answer to such a tutorial on Reverse Lettering, I decided to make a video reference for anyone wanting to work with vinyl adhesive for the inside of a car or building window. Here is my tips and tricks. If you have succeeded in doing this, please comment on this blog as to any tips or tricks you might have learnt. Thank you.....Blessings
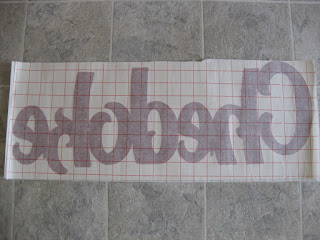 |
The lettering was to fit in a 36" window panel. I used a 12 X 24" Cricut mat, placed the Shadow Colour adhesive vinyl sheet and using the free program download "Craftroom" from Cricut.com I choose the text box and typed the word Chedoke (School name). Then because it was a 24" word I chose the Flip horizontal tab and the reversed word looked like the above photo. HINT if your letter is 12" or less you could use the Flip vertically tab to reverse the word.
|
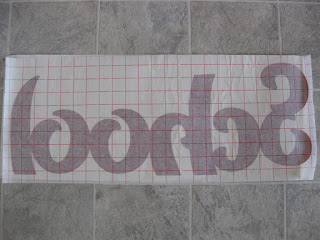 |
The second word was equally long therefore I flipped it horizontally also. I removed all the excess vinyl,
exposing the lettering as you see them here. I removed the project (with the backing paper) from the 12X24 mat.
I then placed the transfer (red lined) paper on top of the exposed (Non-Sticky side) vinyl as per instructions inside packaging and burnished the transfer paper to the lettering. The transfer paper is rather sticky when the backing is removed - I removed its backing paper only a small portion at a time, lining up the corner and top edge with the corner and top edge of the vinyl letter backing. Move slow and steady and things will go great.
Proceed with the burnishing process as per instructions.
|
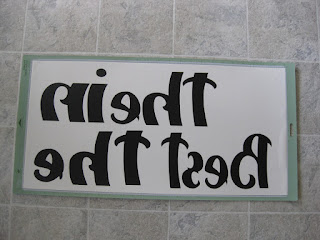 |
The letters which were to be placed onto the red shadow welded letters were not welded and as you see here they were also Flipped horizontally on the 12 X 24" mat.. This helped to line up the individual letters on the red shadow welded letters.
|
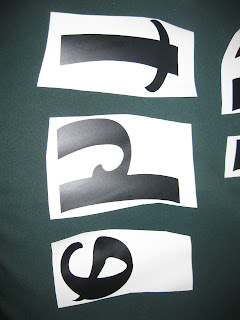 |
I cut out the individual letters. Using the backing and Non-adhesive side of the vinyl it was easy to
trim a small margin around each letter.
|
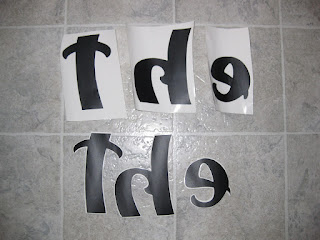 |
Here you can see how close I trimmed the lettering. I then flipped over the shadow letters, peeled back the White (No Red lines) backing and centred the individual letters non-adhesive side down onto the red adhesive shadow lettering and peeled off the trimmed white waxy back paper exposing the adhesive side of the black letters. This precess left the red (Shadow letters) adhesive and the black (individual letters) adhesive facing up. I then recovered the whole project with the peeled back White (no red lines) backing and the wording was now ready to be transported fearlessly and later adhered in place to the school's inside windows using the same method as described on the instruction sheet inside the vinyl packaging.
The You Tube video link explains the process also. |


No comments:
Post a Comment