Friday, November 9, 2012

Close To My Heart Christmas Stamp set and chipboard Oranments

There is the You Tube video explaining the Close To My Heart chip board cuts and the embossing.   Leave me a comment or question and I will do my best to assist you as best I can.  I would love to hear from you.  You can follow my blog for further ideas and techniques.    Blessings

This is one of the 2012 Christmas stamp sets from Close To My Heart
The cutting details for use with the Artiste (CTMH) cartridge are placed beside 

each stamp on the plastic backing sheet.    
The Chipboard cut out below are a perfect addition to this stamp set


                     The Blue Blitz and Opaque Silver embossing powder is 
Michael's Reflections brand.


The Light Olive Pearl Green embossing powder below is also Reflections.

The Red Dragon Opaque and Jewel Opaque gold embossing powders are by Stampendous.Purchased at Michaels 
        
I love this Martha Stewart
Bow punch 
I punched out red, green, white and then embossed card stock scraps with glitter embossing powers then punched out some glitter bows as well.  The center of the bows above are accented with gold rhinestones and adhered to the glittered bows with Glossy accents.

Friday, October 26, 2012

CTMH Scrapbooking layout

As Promised .... Here are some of the Close To My Heart layouts I have enjoyed working on!

For current 2013/2014 available kits visit my web site at www.dorothystevenson.ctmh.com
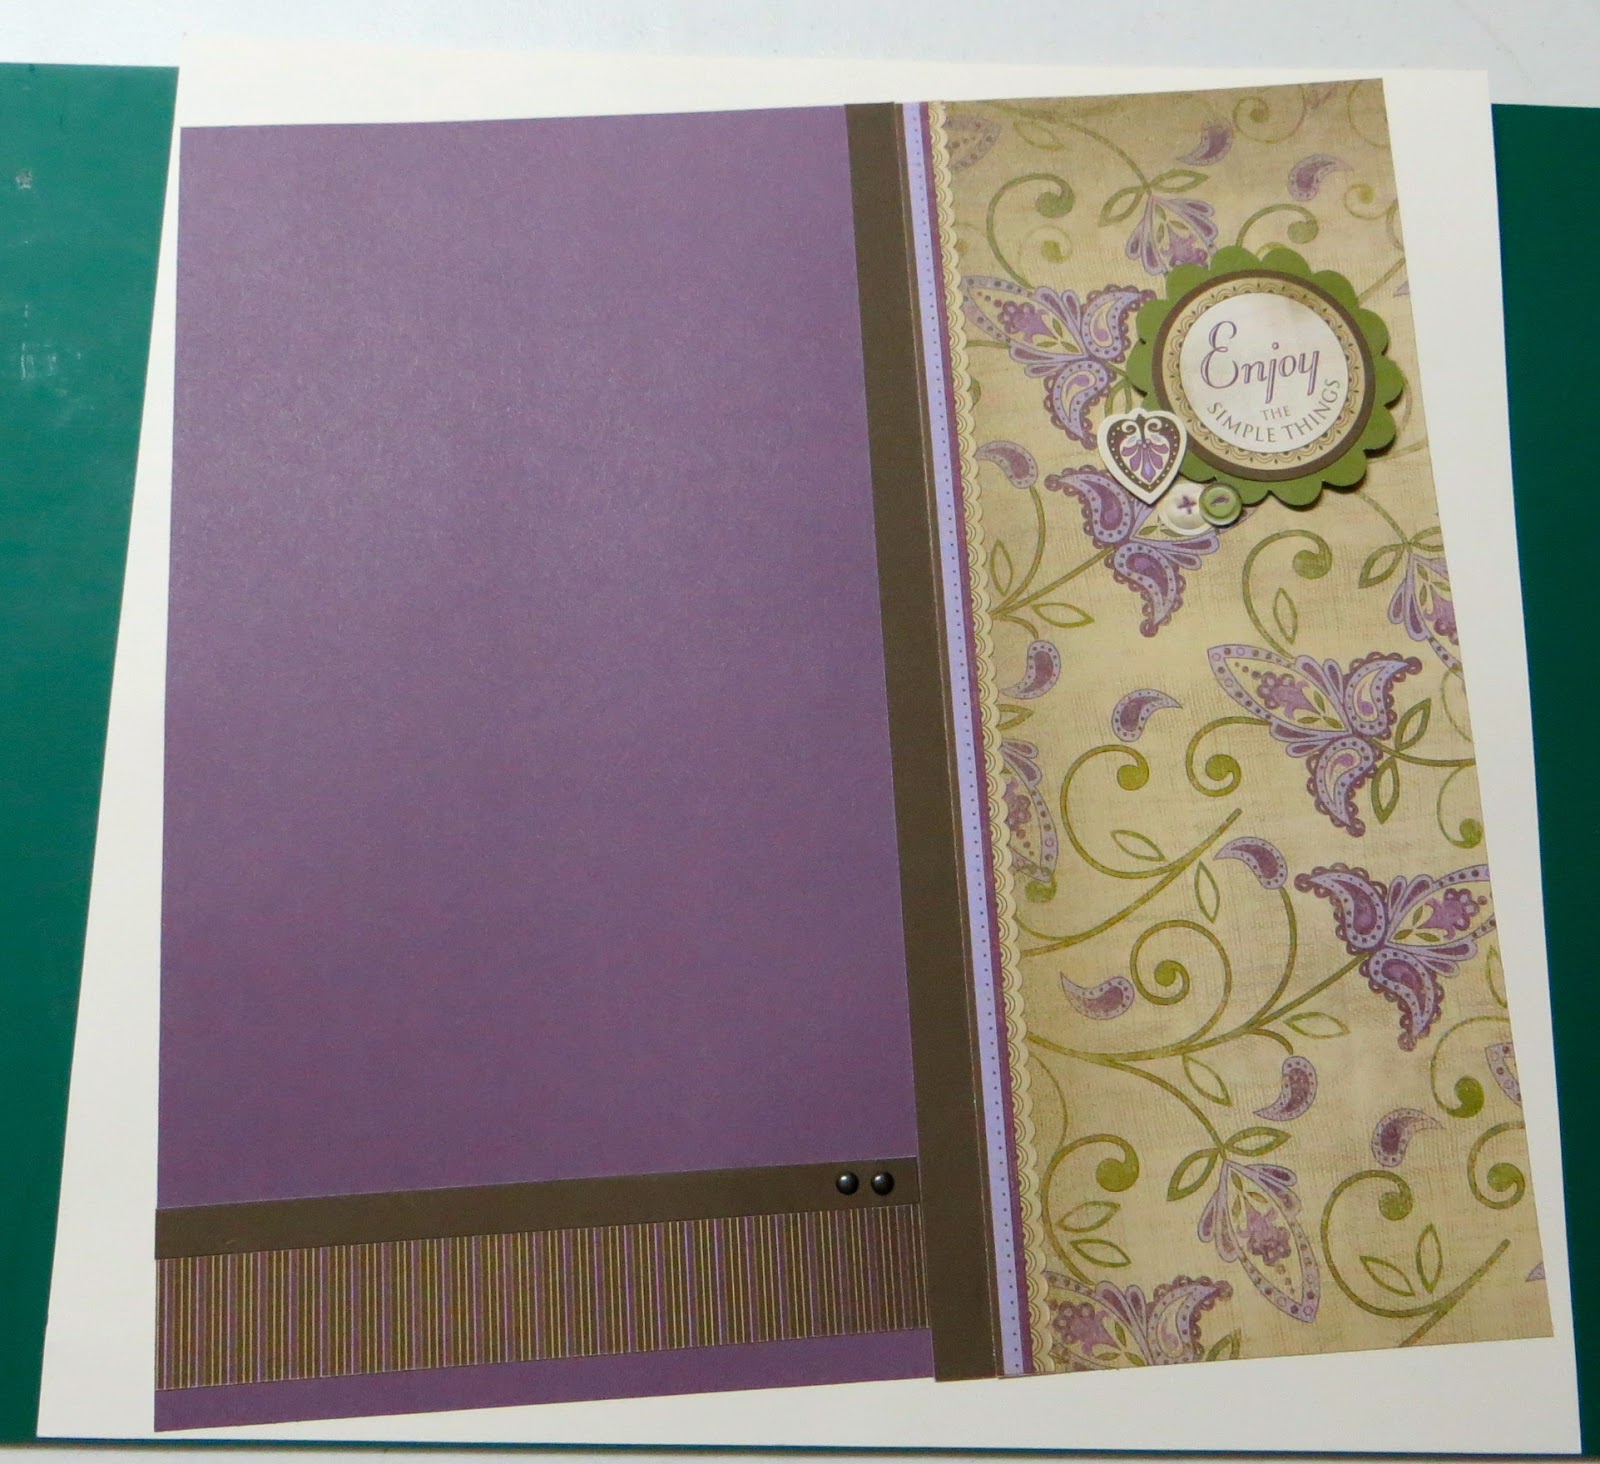
 This Layout was from the Sanoma Workshop presented in 2011


 The richness of the Olive Green and the deep Plum colours really go well with the
stamped images and the tan backgrounds in the printed pages.


I loved this workshop so much I decided to continue with the 4th double page layout.


The Close To My Heart Cricut Cartridge was used to create the circle you see above


The following 3 double page layouts are from the Cruisin Workshop from the 2012 CTMH book


The bottle caps on the left are adhered with pop dots (layering 2 together and placed inside the cap).   I loved the stamp set that came with this workshop.  The vintage car and gas pump can be used for future masculine cards, etc. 


Here the car is stamped using red instead of the green one from the first and second layouts..


This is definitely a princess layout,  It was so much fun to do.  The crown is a rub on cut out and enhanced with tiny rhinestones.  All from the workshop supplies.


The Grey card stock is sanded with fine 0000 sand paper to give a distressed look. 
These photos show the layouts placed inside the album therefore you see a reflection on the pages. 


This is the latest Workshop (October) I worked on.  It was a delight to do. 
 I love the flowers and stamp set that came with this work shop.


I love these colours.  Coral, Aqua blue, milk chocolate...yummy.  The button centres are darling.


These flowers were from a paper flower packet that came with the work shop as well.

 
The banner above is made from burlap and has tiny pearls in between each triangle.

Fall Creative Inspirations


I hope you enjoy these latest cards I have created.  

I will be posting the photos for the latest 

Close To My Heart workshop later this evening.  

Blessings

 This is what I created for the  Ladies WOW group invitations for October.
The stamp is from Close To My Hearts Stamp of the month.
I coloured it in using Permacolor Premium coloured pencils.  
The stamp Blessings is one I picked up at JoAnn Fabrics while in the states

 The Card stock was from Michaels. Instead of ribbon I drew a black line 
under the top card stock before stamping the harvest stamp.
The dimensions for the card is 41/4 X 5 1/2 (A2)

 This background embossed image is from England 
(purchased at our local Orilliacraft store - Paper Kapers).  
It is also a die cut which allows the backing to show through,
The Butterflies are Martha Stewart punches.  
  Both butterflies are glued in their middle sections only 
allowing the wings to stand up.  
The sparkle edges are outlined using Stickles. 
(Brown (Lg) and iridescent (Sm)) 
 I added a little bling to the centre of the embossed top flower.

The Thank You stamp is from the Dollar Store and  is centred 
on a Spellbinders Labels die cut edged with red ink matching 
the wings on the smaller butterfly,
The body and wings of the smaller butterfly are emphasized 
with iridescent Stickles.

Thursday, May 31, 2012

Wedding Bells are ringing

This is a cute design I did using a digital download 
from Cuddly Buggly
I retouched the hair using Primsa Color pencils 

to match the hair colour of
the bride and groom, their skin tones and 

painted the shoe colour to suit their colours also.
I love bling so I added the bow 

on top of the embossed Spellbinder die.
It is doubled embossed First with Cuttlebug 

embossing frame and then with the
Spellbinders Grand Caliber smallest die.  

The matted frame is sponged coloured
with Colour box midnight blue ink. 

The background is a pearl light grey card stock
and it sits on a fiber gold paper.  

I had a lot of fun creating this one.


Here is the verse I used inside.

Ever wonder why God gives us two?

A right hand to show the left what to do.

One ear to listen and one to hear

the problems of others,
their laughter and fears.

One eye to watch and one to behold

the beautiful treasures
that life has to hold.

One foot to travel and one to stand tall.

Two feet to land on if we should fall.

One man to stand by a woman's side;

One woman to cherish being his bride.

The love between partners
comes shining through

and that is the reason
God has made two.


Tuesday, April 24, 2012

Place Card design


Recently I was asked to design a larger than normal place card for a seniors residence.The colours match their green table cloths and yellow napkins which are the colours of the residence's logo.


Place card dimensions 4X 4 1/4"  The green name plate is 3X 3 3/4"The decorative edge are Martha Stewart punches  as well as the Monarch butterfly (edge and body is chocolate marker) 

This is the greeting that was chosen for the inside of the place card for each lady attending the breakfast at the residence.

Here is another greeting I found that I enjoyed as well. 

Maybe you would enjoy it for one of your cards!


Decorative doily edge card


              The Following are invitations I created for our church ladies group for May.
I love the lacy look of this design.  If I remember correctly the inspiration for this card came from a site by card-making-magic which I found on You Tube.  Check out the many other  videos uploaded from card-making magic.There you will find many beautiful creations made with Spellbinder products!! 


This is the Mom's Day invitation card for this month's Women Of Worth meeting.  Each month I design a different invitation for the ladies as my contribution.  I usually adhere the details (speaker, etc) with a removable tape on the inside of each card  and ask the ladies to recycle the invitations by adding a personal note and  use it as a greeting card to a friend or relative.

The Mother's Day stamp was from Michael's.I found the Violet stamp pad colour around the edge andfor the stamped lettering enhanced the card.

I added this frame from Cricut Cartridge sized at 3"

Finished card/invitation..Enjoy!


1. Cut  Pink (8 1/2 X 11") card stock to measure  8 1/2 X 10 1/2" .  
2. Cut diagonally (Right to left) from the top right corner 10 1/2  
    down to 4"on left  side of paper's edge.
3. Score card stock at 3" and 7 1/2"
4. Punch decorative edge along the diagonal edge
5. Fold in a mountain valley fold as shown.  
6. Decorate as you desire.

The butterflies were chosen from Close To My Heart Cricut Cartridge 
and cut using  1" setting with 5 depth and 4 speed.
and the floral edge was a Martha Stewart border punch.
Here I dressed the card for a greeting card I will use for
Mother's Day this year.  The butterflies are from a Martha Stewart punch.
The flowers and leaf branches are from the CTMH Cricut cartridge with the centre
flower cut 1/4"   smaller than the base flower.  The pearl in the larger flower was
 coloured to match the mauve using a Bic Marker. The double bow accents the 
circle punch and the Close To My Heart stamp (I Love You).  
The larger flower measures 1 1/2" (centre 1 1/4")  small flowers 1"and centre 3/4"


Enjoy your creativity with this design.  Leave a comment or any questions you might have. and I will do my best to answer them.  Blessings on your day!


Thank you for dropping by.

Thank you for dropping by.
I trust you enjoyed viewing what I have been up to lately....Have a Blessed day!